

How to Create Rolling Car Photography
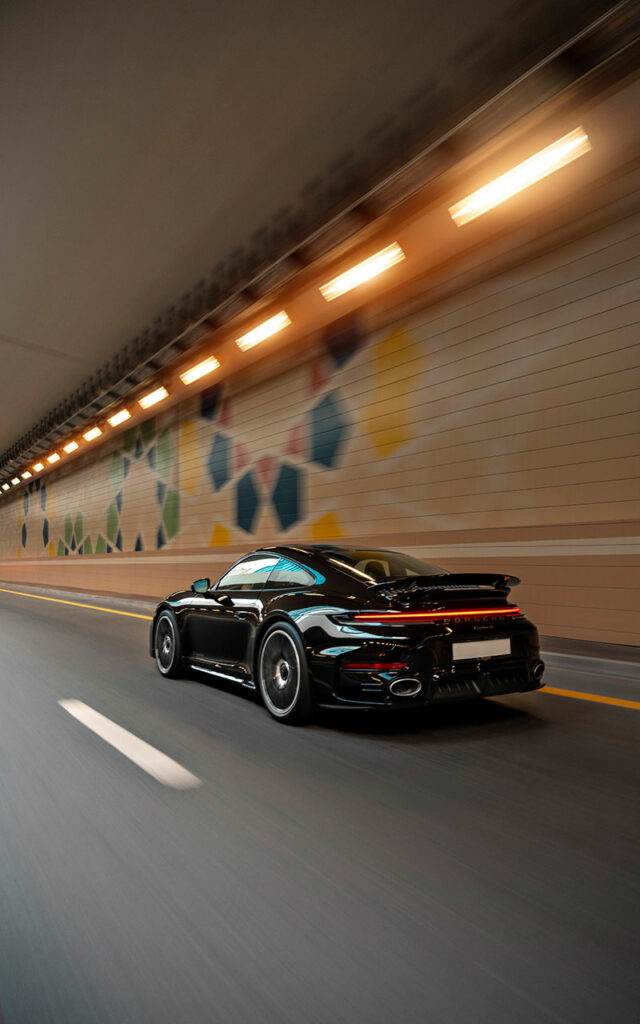
10 Steps How to Create Rolling Car Photography
Rolling car photography is one of the most exciting techniques in automotive photography. The goal is to capture a moving vehicle that remains perfectly sharp while the background and wheels blur with motion, creating a powerful sense of speed and energy. Achieving professional results requires careful planning, the right camera settings, and a strong focus on safety.
Step 1 – Plan the Location
Choose a road with smooth pavement, light traffic, and an attractive background. Scenic mountain roads, city skylines, desert highways, or coastal routes all work well. The best lighting conditions are during sunrise, sunset, or the blue hour, when the light is soft and adds depth to the vehicle.
Step 2 – Prepare the Vehicle
A clean car makes a significant difference. Wash the exterior, clean the wheels, and remove fingerprints or dust that may become visible in high-resolution images. Also check that the tires are properly inflated and that the car is ready to drive safely.
Step 3 – Prepare the Camera Vehicle
Most rolling shots are taken from another moving vehicle. Ensure the camera vehicle is suitable for photography, provides enough space for the photographer, and allows safe communication with the driver. Every person involved should wear a seat belt or appropriate safety equipment throughout the shoot.
Step 4 – Select the Right Equipment
Professional rolling photography typically requires a full-frame camera, a wide-angle or standard zoom lens (16–35mm or 24–70mm), image stabilization, and continuous autofocus. Shooting in RAW format provides greater flexibility during post-processing.
Step 5 – Use the Correct Camera Settings
Switch to Manual Mode and begin with these settings:
- Shutter Speed: 1/20–1/80 second
- Aperture: f/7.1–f/11
- ISO: 100 (or as low as possible)
- Continuous Autofocus (AF-C / AI Servo)
- High-Speed Continuous Burst
Adjust the shutter speed according to the speed of the vehicles and the amount of motion blur you want to create.
Step 6 – Match the Speed
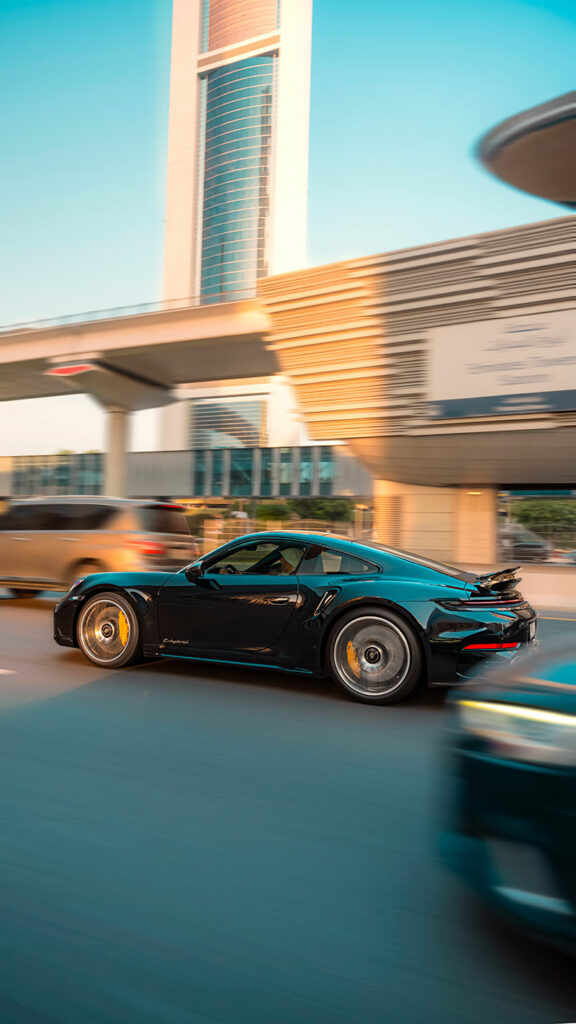
The camera vehicle and the subject vehicle should travel at the same speed while maintaining a consistent distance. This allows the car to remain sharp while the surrounding environment blurs naturally, creating the signature rolling shot effect.
Step 7 – Find the Best Angle
Experiment with different perspectives to showcase the vehicle:
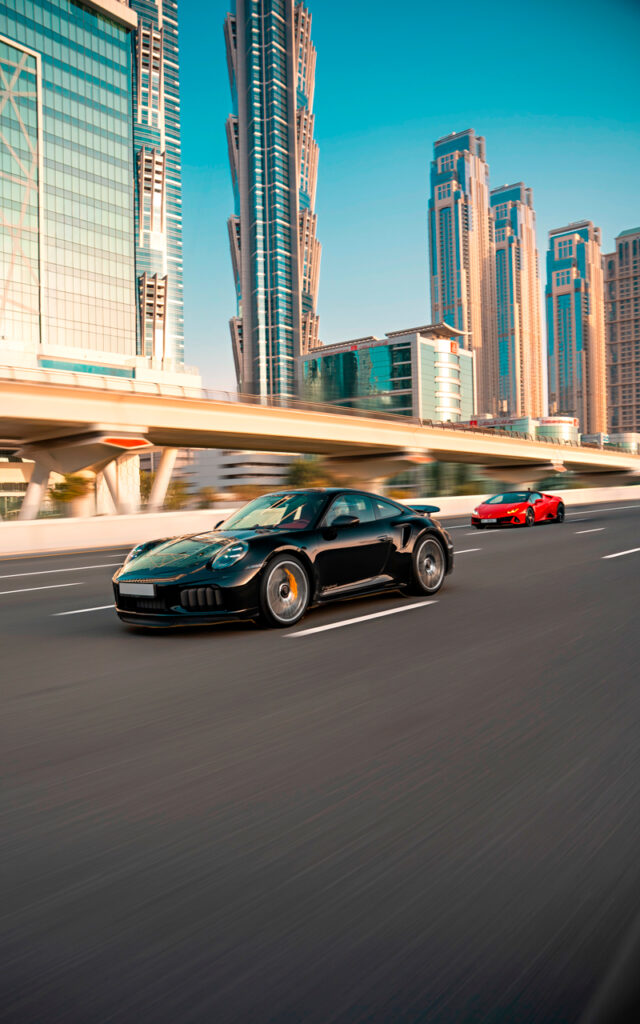
- Front three-quarter view
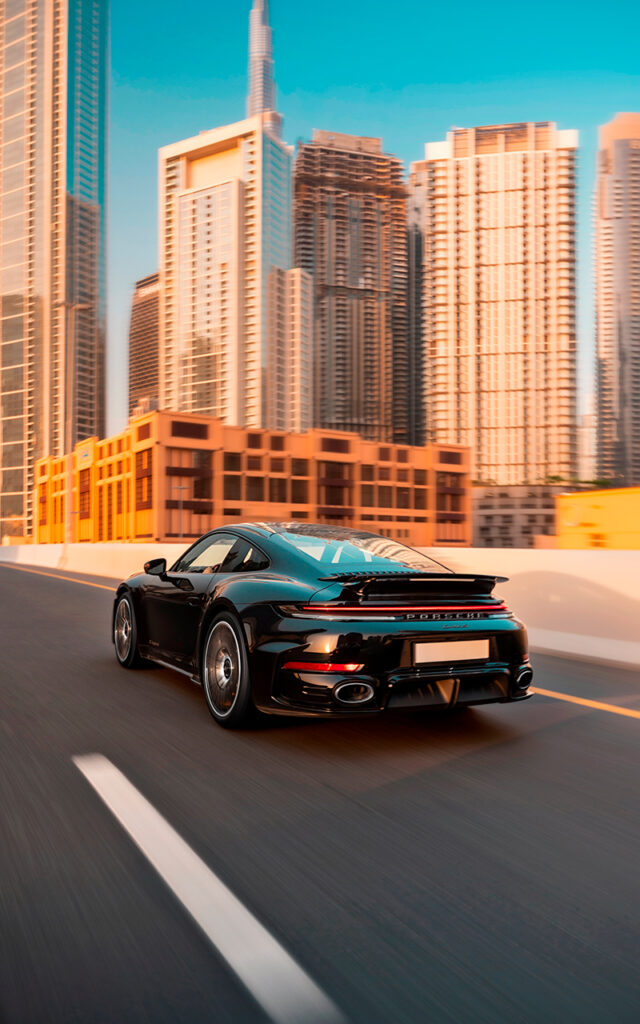
- Rear three-quarter view
- Side profile
- Low bumper-level angle
- Wheel-height perspective
A low shooting angle often makes the car appear more aggressive and dynamic.
Step 8 – Capture Motion
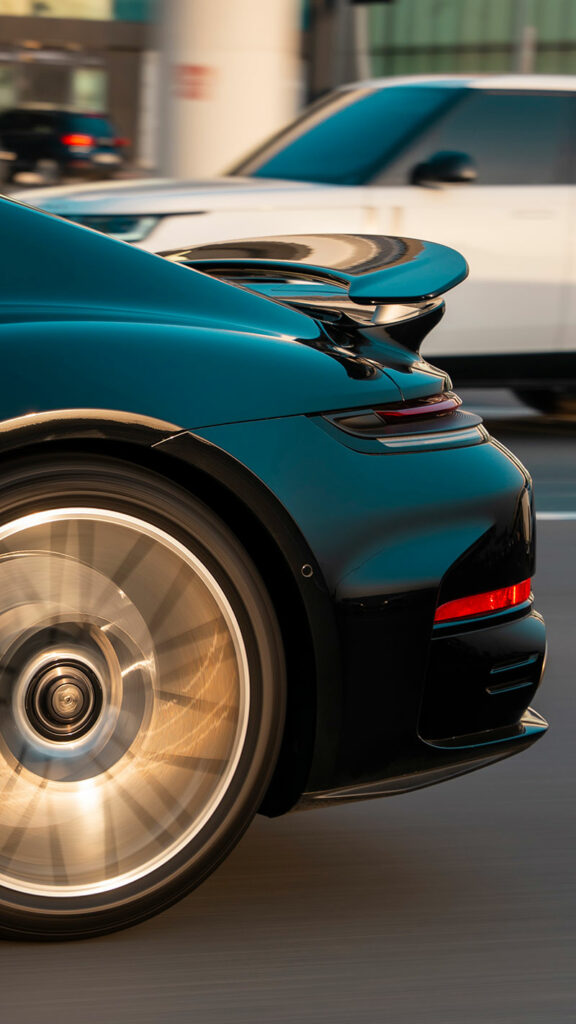
The wheels should display natural motion blur to emphasize movement. A shutter speed that is too fast will freeze the wheels, making the vehicle appear parked rather than in motion. The right balance between sharpness and blur creates a realistic, high-energy image.
Step 9 – Shoot Continuously
Professional photographers often capture hundreds of frames during a single rolling session. Small road vibrations or slight steering adjustments can affect sharpness, so shooting in continuous burst mode greatly increases the chance of getting the perfect image.
Step 10 – Edit the Final Images
Professional editing brings the image to life. Typical adjustments include correcting exposure, balancing colors, enhancing paint reflections, removing distractions, improving contrast, sharpening the vehicle, and refining motion effects while maintaining a natural appearance.
Final Thoughts
Great rolling car photography combines technical skill, creativity, and safe execution. By following these ten steps, you can consistently produce dynamic automotive images that showcase speed, design, and performance. Whether you’re photographing a classic car, a luxury vehicle, or a supercar, careful planning and attention to detail will elevate your results to a professional level.