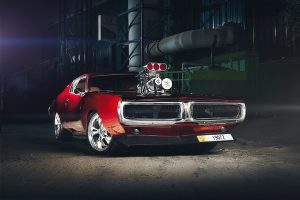
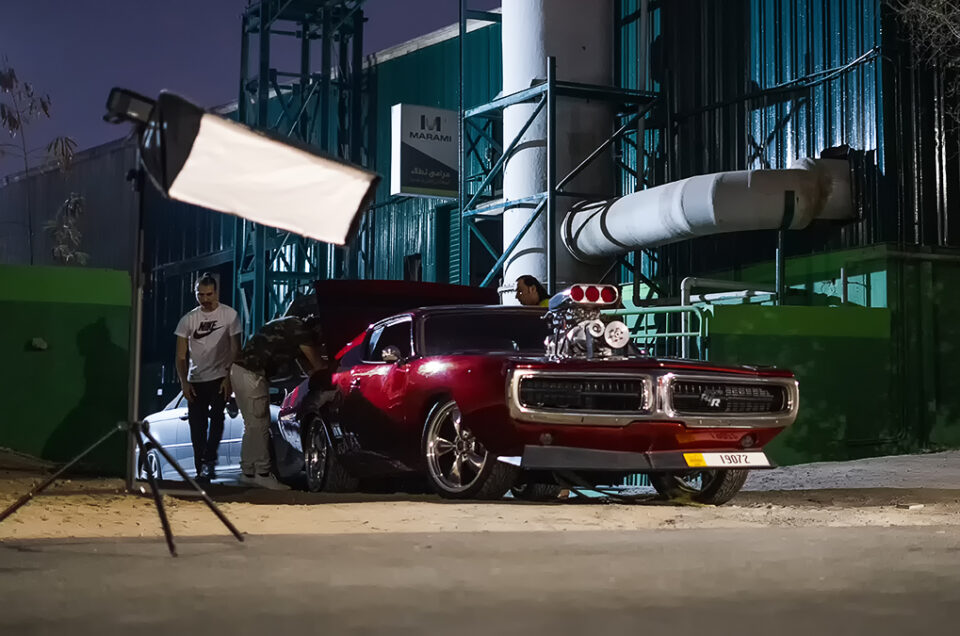
Night photography of cars in Dubai
Most often, true connoisseurs of cars and original content need night photography. For example, the Tomini showroom, they have the most unique collection of classic cars and noticed. They always make very interesting photo shoots.
- Describe on paper your idea, what you need to realize it. You need to think about the idea in advance. What result do you want to get and what you need to do to get it. You cannot start creating your photo the moment you take a photo.
2. Make a list of the equipment you will need for your photo shoot. What I always take for night photography. A good tripod, preferably metal, photosensitive lenses (for example, 50 mm 1.4 f). A few tripods, a remote for the camera, several light sources, flashes and a constant studio light, a few rags to wipe the dust.

Night photography of cars
- As we have already said, it is essential that your tripod is of a solid construction in order to get sharp photos. It is especially important with long exposures that your tripod does not move, even when you press the button, as this will cause micro movement anyway, hence a little blur. That is why it is necessary to use a remote control to reduce all possible fluctuations.
https://www.youtube.com/watch?v=Qm8H1w1Kqhc
- The higher the light sensitivity of your lens, the more beautiful the photos will be, since you will have a few extra seconds to spare, and you can show the background in bright highlights.
- Camera settings in artificial constant light. When setting up the camera. Set the mode to m, the ISO settings can be changed from 200-400 ISO, so that there is not too much noise. Now you just have to combine time and aperture. If you want the background to be blurry, then naturally you can open the aperture as much as possible and this will give you an advantage, you can take pictures without too long exposure. If you want the background to be not blurry, then of course, you need to close the aperture; this will cause the exposure time to be longer. Therefore set the values (aperture, ISO, you just have to change the time value. The time values you change are relative to the amount of light. Take a couple of shots to make sure that your source illuminates your subject well enough.
- Camera settings using studio flash. In this case, you will have different settings. If you are already taking photos at night. The first step is to make sure you have a flash connection using a synchronizer. Fix the maximum short flash time. Step number two is to set the ISO in the range (200-600). I will tell you how to set the aperture in a separate post. you can change the shutter closing time relative to the photos, if the subject turns out to be too bright, then increase the shutter speed.
- The more complex the project, the more beautiful the result. Not always. The more complex the project, the more often you need to return to it and every time it will be better.


Leave a reply